

As an Amazon Associate, I earn from qualifying purchases. That means I earn commissions from my sponsored links or I make money when readers (you) purchase items through my links. Your purchase allows me to continue working as a stay-at-home dad who moonlights as a farmer and a musician. Needless to say, this post contains affiliate links.
“He who plants okra eats forever.”
Sounds exaggerated?
Not when you’re a Filipino amateur farmer with just a few square meters of soil, a couple of repurposed buckets, or a small empty lot in front or behind your house.
In my case, I started planting okra in 2015 – 2016 because I was technically broke, could not regularly afford canned sardines, and struggling to keep myself fed with something fresh.
Wow… that was 10 years ago… lemme see… I just turned 46 a couple of days ago… so that was when I was 36… how fast time flies…
And planting it was initiated by my father-in-law while I was still dating his daughter because I was renting the house directly in front of theirs. He just noticed that there was an opportunity to plant okra on the small plot of land in front of my rented house so he went ahead and planted a dozen
At first, there was nothing but it eventually turned out into something more.
Today, I still grow okra as a way to supplement our household’s dietary needs.
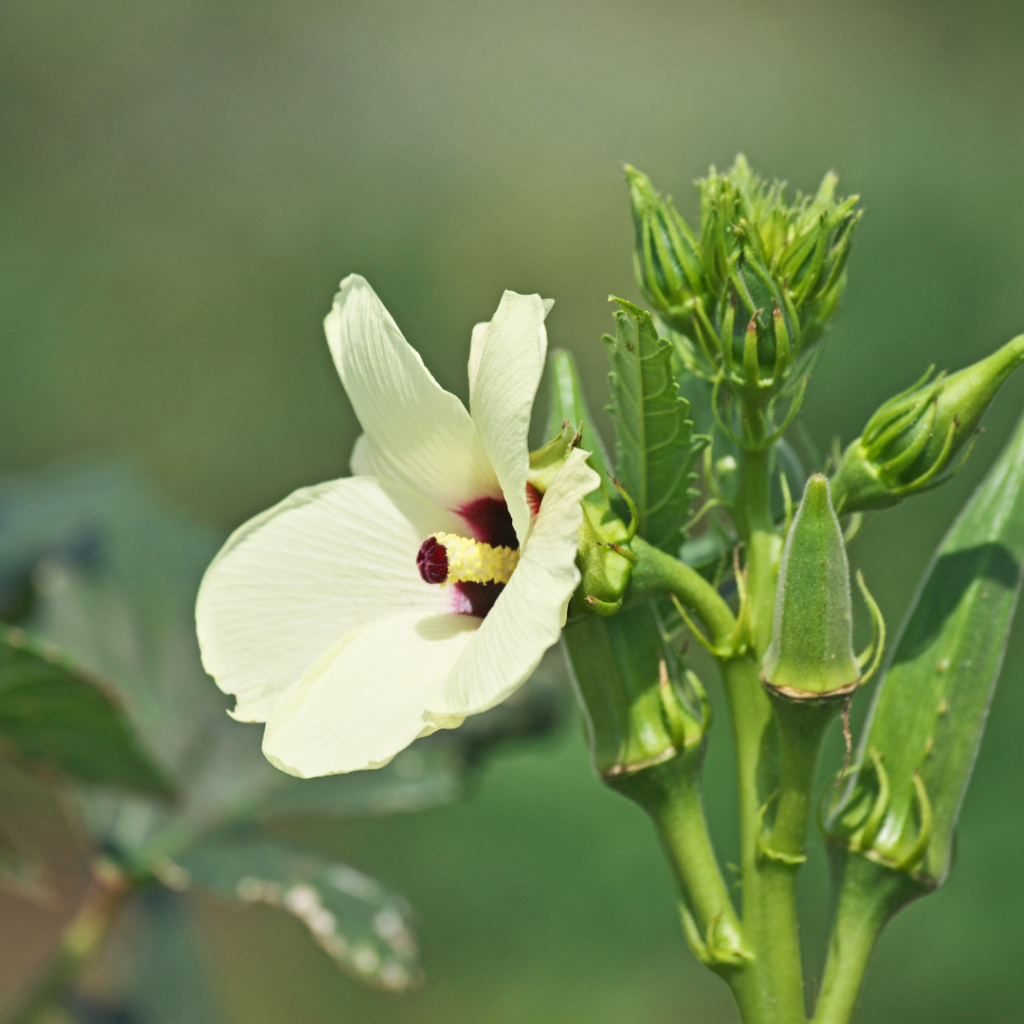
Okra—also known locally as lady’s finger—is one of the most adaptable, high-yield, low-maintenance vegetables you can grow, whether you’re into full-on homesteading, a curious prepper, a backyard farming weekend warrior, or even a professional farmer with hectares to spare.
It’s also a crop recognized by the Department of Agriculture as a key contributor to food production resilience in the Philippines.
Here’s how to grow okra in a way that makes sense for our climate, our resources, and our diskarte as Filipino growers.
Why Okra is Perfect for the Philippine Climate?
One word: hot climate.
Wait… hotclimate.
hehehehe

Okra thrives in warm, humid conditions and even prefers the blazing heat that would make lettuce and pechay cry for mercy.
With a short growing cycle—just 2 months from seed to harvest—you can plant it year-round, though the best months are between March and September.
In Calinan, a place known for its agricultural activity, many small-scale and amateur farmers swear by its reliability despite having more “valuable” crops growing on their farm lots. Just visit any farm and take a look at their backyard, you’ll find the majority have okra planted there.
And typhoons? As long as it’s not too early in the season, mature okra plants are resilient. This means less stress, more harvest, and better return on effort. For better results, you might want to protect your okra trees by planting buffer trees nearby to control strong wind gusts.
Reinforcing with sticks lashed to it also help.
And if you have the time, you could prune your plant so that it’s not to tall and prone to breaking if a strong wind gust hits it..
There are Many Okra Varieties to Choose from
Before I became more interested in growing okra as a serious hobby and food source, I thought that okra was just… okra.
But nope.
I found out that there are several varieties available to Filipino growers:
Native Okra
- Shorter, spikier pods
- Grows well in most backyard settings
- Stronger, earthier taste
Clemson Spineless
- Common commercial variety
- Longer, smoother pods
- Ideal for vegetable farming and professional farmer use
Emerald
- Very tender pods, great for soups (initially developed by Campbell’s Soup Company for that purpose)
- Needs more watering
- Really nice to look at because of their bright green color.
Arka Anamika
- Indian hybrid, fast-maturing
- Good for food production scaling
- One of the fancier ones I have and amusing if I bring it into the conversation but isn’t really that different from all the other okra varieties. Just has a fancier name hehehehe.
Pro tip: For backyard farming, start with Clemson Spineless. High yield, easy to find seeds, and low maintenance. They’re the ones you can usually buy from groceries. So all you have to do is save the seeds and prepare them for planting.
Land Preparation
Clear, Till, and Fertilize Early
Even a 1m x 3m space can support a good number of okra plants. For homesteading or urban farmers, use containers with at least 1-foot depth. But if you’re planting directly into soil:
- Clear weeds and debris.
- Till the soil about 8–10 inches deep.
- Mix in compost or aged manure two weeks before planting. Okra LOVES organic matter.
No compost? We sell compost!
Want to make your own compost? Here’s an easy one to make… soil + kitchen scraps = simple instant organic compost. You’ll have to turn it every few days though to break it down to good compost.
Fertilizer Application
Okra is not as demanding as corn or tomatoes. But it still needs fertilizer to grow quickly and more abundantly. My first okra wasn’t as well taken care of as the ones I have today and they still managed to grow well and feed me enough.
Organic Option:
- Compost + chicken manure (1:1 ratio)
- Apply at the base of each plant 3 weeks after planting
Inorganic Option:
- Basal: 14-14-14 (1 tablespoon per planting hole)
- Side dress: Urea (1 teaspoon) 3–4 weeks after planting
Reminder: Don’t over-fertilize. You’ll get more leaves than fruit.
Seed Preparation
Prepping Seeds for Planting
Okra seeds have a tough coat. Let’s soften them up!
- Soak seeds in water for 12–24 hours.
- Some amateur farmers add a bit of lukewarm water so that they sprout faster.
- Pat dry before planting.
This increases germination rate from 50% to 90%.
Planting the Okra
- Spacing: 12–18 inches apart
- Depth: 1 inch deep
- Rows: At least 2 feet apart to allow air and light
For containers: One plant per pot at least 10 inches wide. Drainage is a must.
Press gently. Don’t stomp the soil. Okra grow well in loose soil which promotes aeration.
Irrigation
Okra loves water but hates wet feet.
- Water every 2–3 days during dry season
- Adjust based on rain during wet season
- Morning watering is best
Note: Overwatering = root rot. Underwatering = skinny pods. Balance is key.
Cultivation and Weeding
Weeds are the enemy. They steal nutrients and choke roots.
- Weed once a week (or as needed)
- Hill soil at the base after 4 weeks to support stem
- Mulching with rice straw, coconut husks, or dried leaves keeps moisture and minimizes weeds
A clean garden is a productive garden. But don’t get stressed out if there is some grass growth. It’s ok. Gardening should also be relaxing.
Pest Management
Common Pests:
- Aphids
- Fruit borers
- Leafhoppers
- Flea beetles
Natural Solutions:
- Neem oil spray
- Soap + water + garlic mix
- Intercropping with marigold or basil (to scare off the bugs!)
If all else fails, spot spray with recommended pesticide. But always follow safety directions. Protect yourself and the agriculture ecosystem.
The reason why I really promote organic gardening is because these okra plants are for private consumption and not really for commercial use like selling as a retail good. Too much chemicals in the things you eat will kill you in the end.
Don’t panic, go organic.
hehehehe
Harvesting Okra
When to Harvest
- 50–60 days after planting
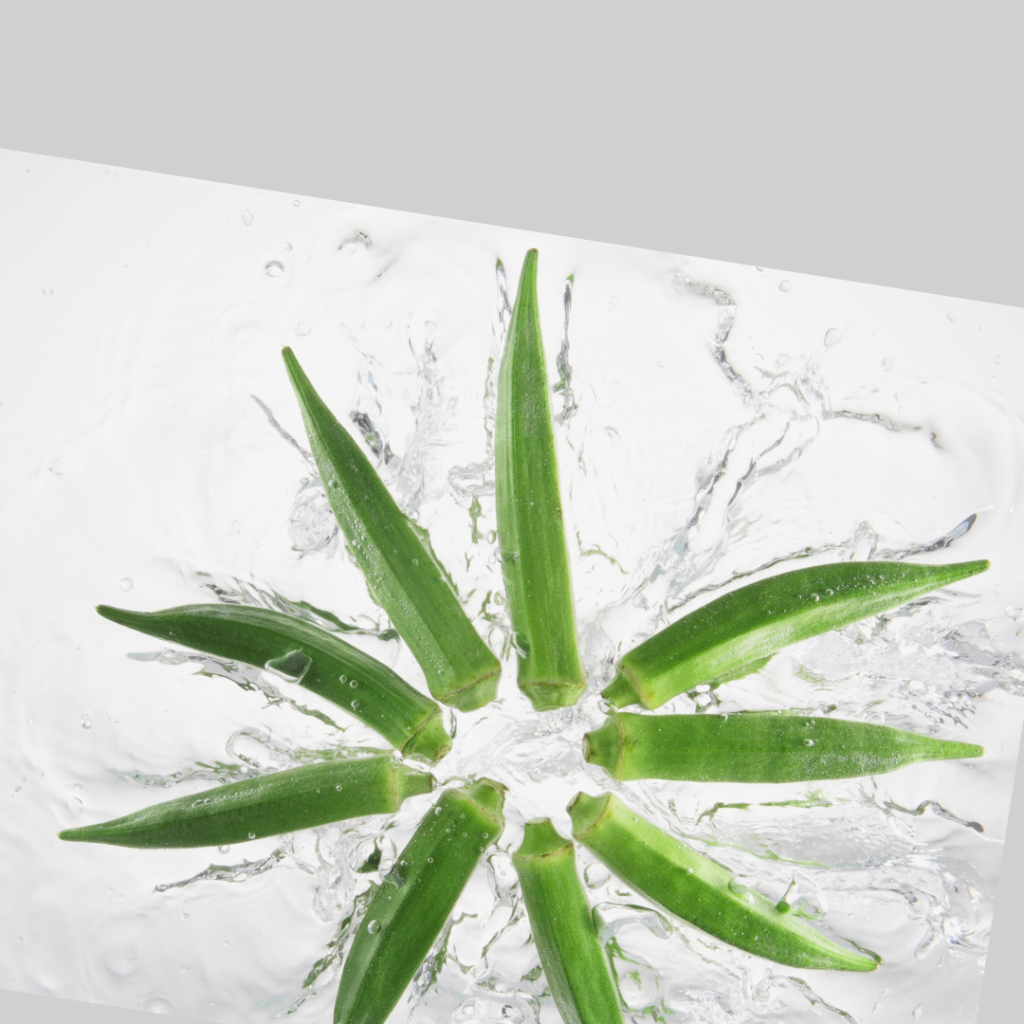
- Harvest pods while young (2–4 inches long)
- Check daily! They grow fast and get tough quickly
Use garden shears or twist gently. Don’t pull hard. You’ll damage the plant.
Harvesting Tips
- Wear gloves if sensitive to okra fuzz. I didn’t know why I always ended up with itchy hands every time I harvested my okra until I found out that my skin was allergic to them.
- Harvest in the morning
- Keep pods in a cool shaded basket
Each plant can produce 20–30 pods or more. With staggered planting, you can harvest every day.
Final Thoughts: Why Okra Deserves a Spot in Your Garden
No matter if you’re a prepper, a professional farmer, or a stressed-out freelancer who just wants to eat something fresh—okra is one of the best crops to grow. You don’t need fancy tools. You don’t need endless land. Just some seeds, soil, a little patience, and elbow grease.
In 2016, I started with 10 plants. That turned into buckets of okra every week. I gave some away. And learned how to cook pinakbet with lots of okra for a really thick stew for dinner.

And just in case you didn’t know this: farming is good for everyone. Especially tired, low-budget weekend warriors who need something to keep them busy during their downtime.
Give okra a chance. It might just surprise you.
Oh, and for more information, check out the Department of Agriculture’s information here and here.
Got questions about growing okra in containers or want to see what’s growing in my garden this month? Message me anytime or leave a comment. Let’s grow vegetables together, mga ka-city boy farmer!